How to Choose LED Warning Lights for Commercial Vehicles: Beacons, Mounting and Wiring
Choosing a warning light starts with the vehicle’s working environment. A maintenance truck, construction machine and utility vehicle may need different mounting arrangements, electrical connections and visibility coverage.
For importers, distributors and fleet buyers, the best starting point is a clear application brief—not simply the highest LED count or the longest list of flash patterns.
1. Define the vehicle and working conditions
Before comparing products, identify:
- The vehicle type and destination market.
- Whether it operates on public roads, private sites or both.
- Where people and approaching traffic need to see the warning.
- Whether roof equipment, loads or vehicle bodywork could obstruct the lamp.
- Whether the installation will be permanent or regularly removed.
A light that performs well on a sample bench still needs to be assessed in its intended position on the vehicle.
2. Understand “beacon”, “strobe” and “rotating”
These terms describe different aspects of a warning light.
A beacon is a warning lamp commonly positioned to provide visibility around a vehicle. A directional warning light is intended to cover a particular direction and may be installed on a grille, body panel or bracket.
“Strobe” describes a flashing effect; it does not necessarily identify the mounting arrangement. Similarly, a rotating effect may be produced electronically by LEDs rather than by a mechanically rotating reflector.
Ask for an operating video and technical specification for the exact variant. Do not assume that a dome-shaped LED beacon has a rotating mechanism, a particular flash pattern or a verified all-round visibility rating.
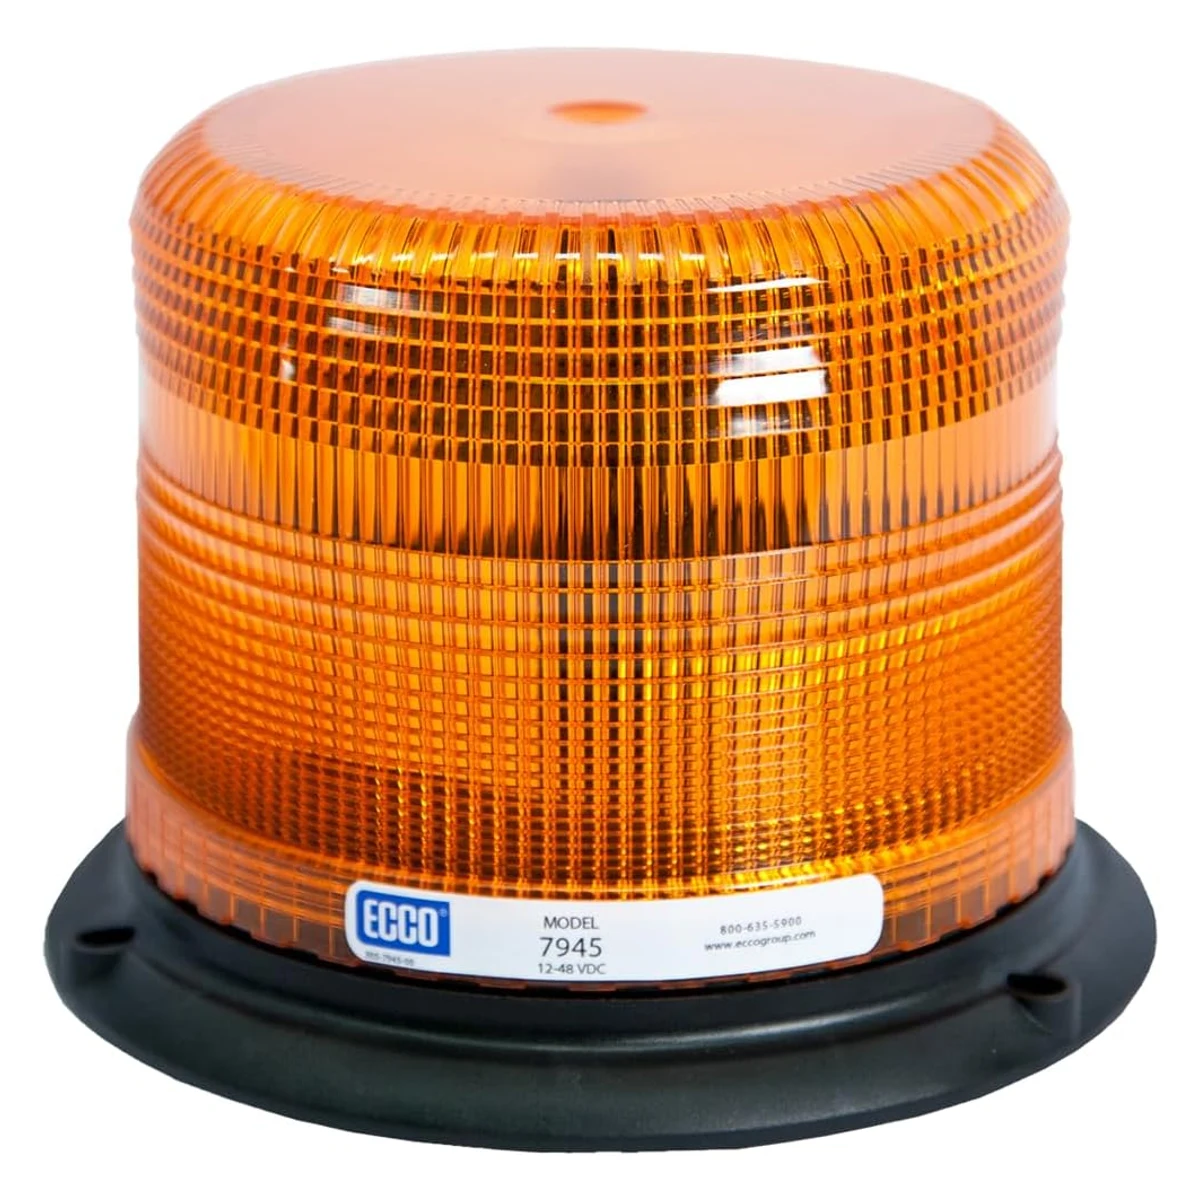
3. Choose the mounting arrangement
| Mounting arrangement | Procurement checks |
|---|---|
| Bolt or screw mounting | Fixing-hole spacing, panel strength, fasteners, sealing and access beneath the panel |
| Magnetic mounting | Suitable mounting surface, manufacturer’s retention limits, cable routing and permitted operating conditions |
| Bracket mounting | Bracket compatibility, vibration, clearance and lamp orientation |
For a permanent installation, check the mounting drawing before drilling. Allow space for the cable exit and avoid placing stress on the wiring.
For a magnetic option, obtain the manufacturer’s mounting and operating instructions. A magnetic base should not be assumed suitable for every roof material, vehicle speed or working condition.
These are general mounting options. Availability must be confirmed for the specific product and order.
4. Check voltage, wiring and controls separately
Start with the actual supply voltage at the installation point. Then confirm the lamp’s specified input range.
A wide input-voltage range does not automatically establish protection against every electrical disturbance on a vehicle.
Request a wiring diagram covering:
- Positive and ground connections.
- Recommended circuit protection.
- Switch or controller requirements.
- Pattern-selection wiring, if provided.
- Synchronisation wiring, if supported.
- Connector type, cable length and cable-exit position.
Where several lamps are used, ask whether they can synchronise and which models or variants are compatible. Do not assume that two lamps with similar wiring colours will work together.
5. Select colour and flash behaviour for the application
Colour availability is a product option, not permission to use that colour on a road-going vehicle.
For example, UK guidance restricts blue flashing lights to authorised emergency vehicles and other specifically designated users. Buyers must check the rules applicable to their market and vehicle use. Read UK DVSA guidance on aftermarket lighting and warning beacons.
When evaluating a sample, consider visibility in daylight and darkness, obstructions around the installation, and reflections that could affect the driver.
A larger number of LEDs or flash patterns does not, by itself, establish better warning performance. Ask for the relevant performance information and assess the intended installation.
6. Keep warning performance and electromagnetic compatibility separate
When a project specifies approvals or testing, request documents that identify the exact model, variant and applicable requirements.
Warning-light performance and electromagnetic compatibility are separate subjects. UN Regulation No. 10 concerns electromagnetic compatibility; an EMC document alone does not establish a lamp’s warning-light performance. UNECE Regulation No. 10 documentation.
Before approving a purchase, compare the product identification on the supporting documents with the sample and quotation. Where approval markings are required, request clear photographs and the corresponding documentation.
Do not treat a generic certificate, a similar-looking lamp or a product-family description as proof for every variant.
7. Compare EVEREST product examples
The following examples illustrate different purchasing questions. Final specifications and supplied accessories should be confirmed before ordering.
| Item | EV-SW026 | EV-SW014 |
|---|---|---|
| Listed product type | Amber LED warning beacon | 30-LED vehicle warning beacon |
| Listed input | 12–48V DC | Confirm for the selected variant |
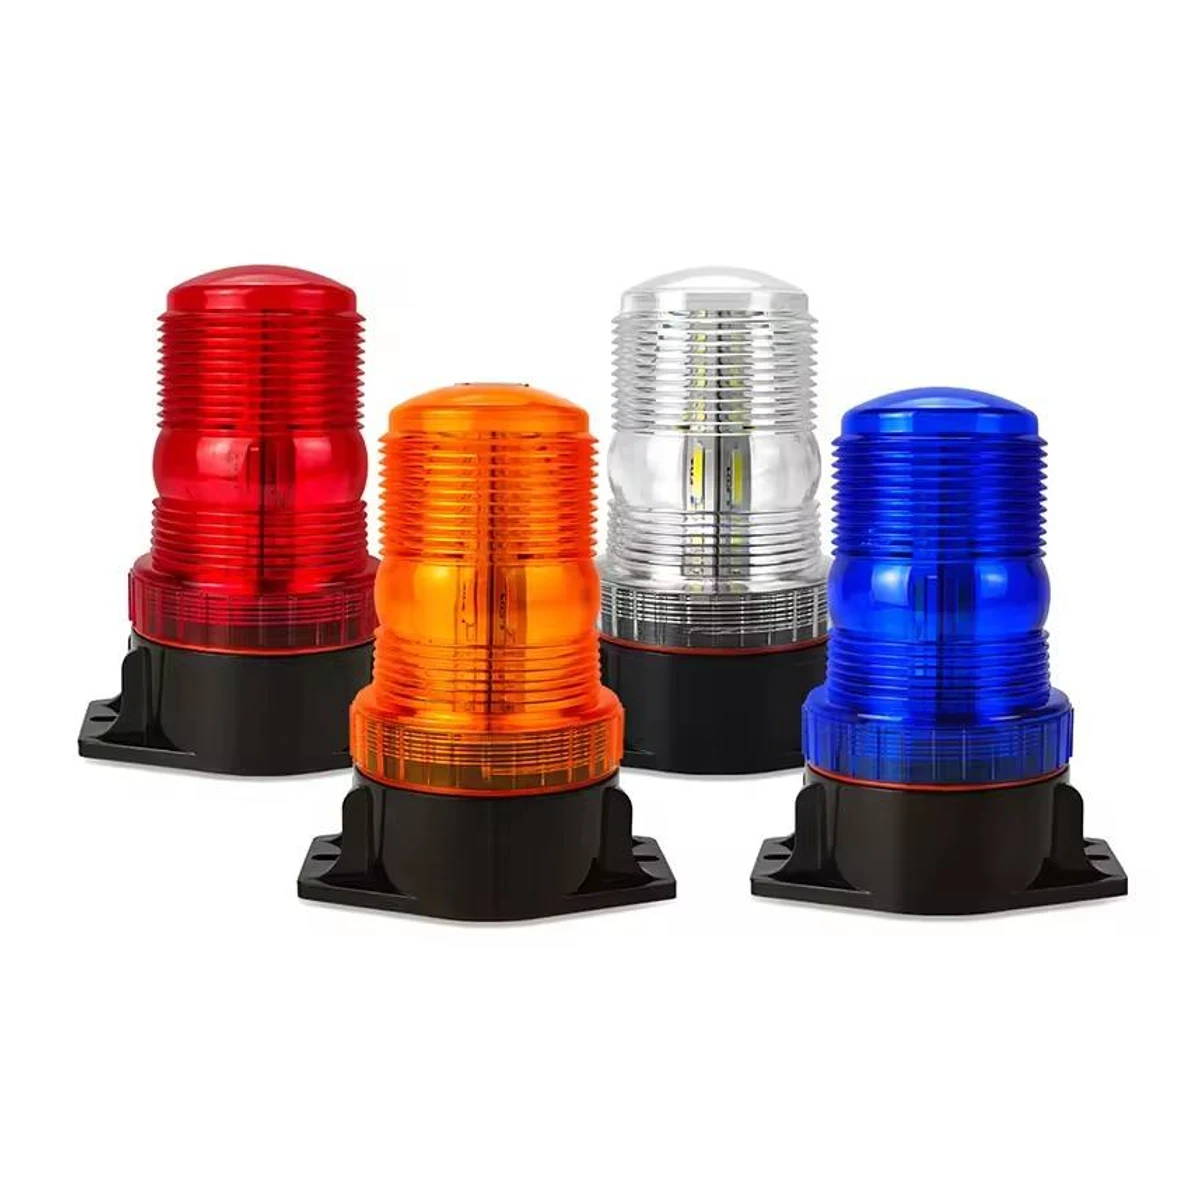
| Listed colour | Amber | Amber, red, white and blue options |
| Listed mounting | Three-bolt mounting | Confirm mounting arrangement and dimensions |
| Other listed details | Polycarbonate lens | Wired power connection |
| Main checks before ordering | Bolt spacing, wiring, dimensions and required documents | Voltage, colour variant, mounting, wiring and required documents |
For an amber beacon with a stated 12–48V DC input and three-bolt mounting, review EV-SW026.
For a wired beacon with several listed colour options, review EV-SW014, then confirm the electrical and mounting specification for the version required.
This comparison does not establish approval status, synchronisation capability or suitability for a particular public-road application.
8. Prepare a useful enquiry
To help your supplier assess the application, send:
- Destination country and vehicle type.
- Working environment and intended use.
- Vehicle supply voltage.
- Photographs of the proposed mounting position.
- Available space and fixing dimensions.
- Required colour and control arrangement.
- Any specified approvals or test requirements.
- Sample quantity, expected order quantity and required accessories.
For fleet projects, test the proposed lamp, wiring and mounting arrangement together before confirming a repeat order.
Discuss your warning-light requirements with EVEREST
Send us your vehicle application, supply voltage, mounting photographs and destination market. We can review the requirements and discuss relevant product options, samples and supporting information.
Browse EVEREST warning lights · Testing and documentation enquiries · Contact EVEREST