How to Choose LED Work Lights for Trucks, Tractors and Machinery
Choosing 12V or 24V LED work lights starts with the job: what needs to be visible, from which mounting position, and at what distance? This guide helps importers, parts distributors and fleet teams compare tractor LED work lights, truck task lamps and machinery lighting before requesting samples.
Collect the supply voltage, mounting height, working distance, area to illuminate, connector photos and expected quantity. These details make a quotation more useful than a request for “the brightest work light”.
In this guide: Application · Beam choice · Voltage and wiring · Brightness · Mounting · Environment · Model comparison · Enquiry checklist
1. Define the working area before choosing the lamp
A lamp beside a truck body may need to illuminate a loading or inspection area close to the vehicle. A tractor operator may need to see the width of an implement. Machinery maintenance may call for directed light at a specific service point. Record the width and depth of the working area and identify obstacles that could create shadows.
Tell the supplier whether the lamp will be used while stationary or during equipment operation. A work lamp should not be assumed to be an approved road headlamp or reversing lamp. Confirm the intended installation and any applicable requirements for the destination market.
2. Flood or spot: match the beam to the task
A flood beam is a useful starting point for nearby, broad working areas. A narrower spot beam concentrates light into a smaller area and may suit a more distant task. A combination layout may help when both near and farther coverage are needed. Mounting height, aim and obstructions can change the result substantially.
Start with nearby work areas, implement width and side-of-vehicle tasks.
Consider a more concentrated beam when the task is farther away.
Ask for beam information or a lighting demonstration at a relevant distance. Compare visibility across the whole task area, glare towards the operator, reflections from bodywork and dark areas behind equipment. Trial the selected lamps in their intended mounting positions.
3. Confirm voltage, connectors and the installation circuit
For 12V and 24V systems, check that the exact lamp’s input range covers the intended supply. EV-AW018 and EV-AW020 are listed for 9–30V DC; EV-AW022 is listed for 10–30V DC. A broad input range is useful for mixed fleets, but it does not by itself confirm compatibility with every vehicle circuit.
Compare the plug, number of contacts, keying, locking arrangement and polarity. A connector described as DT still needs to be matched to the actual mating connector and wiring. Confirm whether the quotation includes a mating plug, harness or only the lamp.
Have the vehicle installer check current draw, cable length and size, fuse protection, switch or relay arrangement, and the capacity of the existing circuit. Avoid selecting wiring from the marketing wattage alone; request electrical data for the selected variant.
4. Compare useful illumination, not watts alone
Watts describe electrical power, not how well you can see the task. Lumens describe total light output; lux describes illumination at a surface. Two lamps with similar power or lumen figures may light the same work area differently because their optics, aim and mounting positions differ.
Ask whether a quoted output is theoretical LED output or measured output from the complete lamp, and request the test conditions. EV-AW020’s product description lists 45W source theoretical power and 3,000 lm source light output. Use those figures as information to verify, rather than as proof of measured installed performance.
For a sample comparison, use the same mounting position and supply conditions. Assess the width and depth of coverage, shadows, glare and visibility of the actual object or ground surface. Photographs taken with different exposure settings are not a reliable brightness comparison.
5. Check the lamp body, bracket and rear clearance
Measure the available space, mounting-hole diameter or pattern, bracket footprint and clearance behind the lamp. Include room to adjust the beam, tighten the fasteners and route the cable without sharp bends or contact with moving parts. Check whether the bracket can hold the chosen aim under the expected vibration.
Length × height × depth, plus nearby guards and panels.
Hole pattern, bolt size, bracket footprint and adjustment space.
Connector access, cable bend and a protected routing path.
For example, EV-AW018 lists an approximately 160 × 95 × 75 mm light body and an approximately 180 mm overall mounting height. Request the current dimension drawing and check how each measurement is defined before approving fitment.
6. Review sealing, vibration, heat and supporting documents
Describe dust, rain, washing, temperature and vibration conditions. Check the environmental rating together with its test information and installation conditions. EV-AW022 lists IP67 on its product page; ask for supporting information for the exact model. An IP rating alone does not establish suitability for high-pressure washing, corrosion exposure or every outdoor installation.
Leave the cooling surfaces clear and follow the installation instructions. For vehicles with radios, control electronics or monitoring systems, ask which electromagnetic compatibility information is available. Request any test reports or approval documents your purchasing team needs for the exact product and destination market; do not assume that one model’s documentation applies to the whole range.
See how to request testing and documentation from EVEREST →
7. Compare three EVEREST LED flood work-light examples
The shortlist below uses information listed on the linked product pages. It identifies questions to investigate; it does not establish vehicle-specific fitment or a brightness ranking.
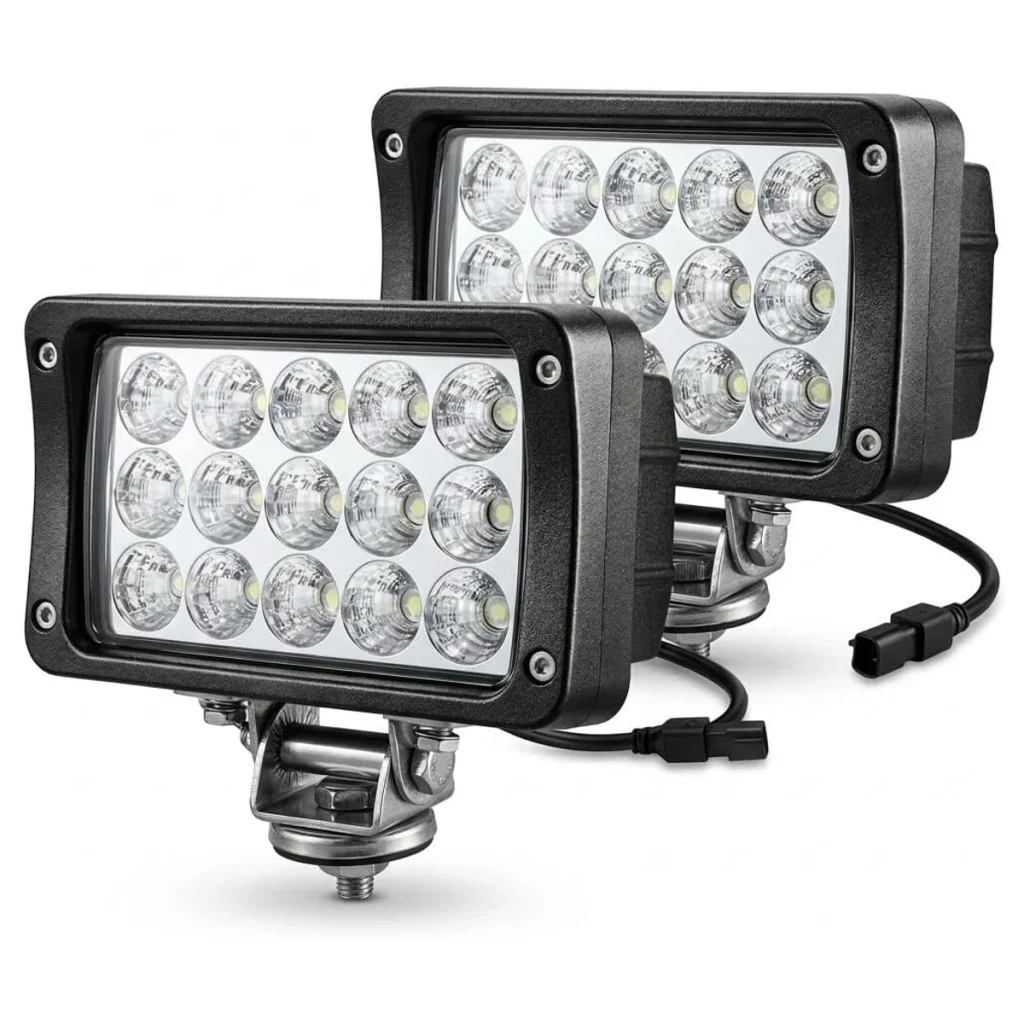
Rectangular flood lamp; DT connector listed.
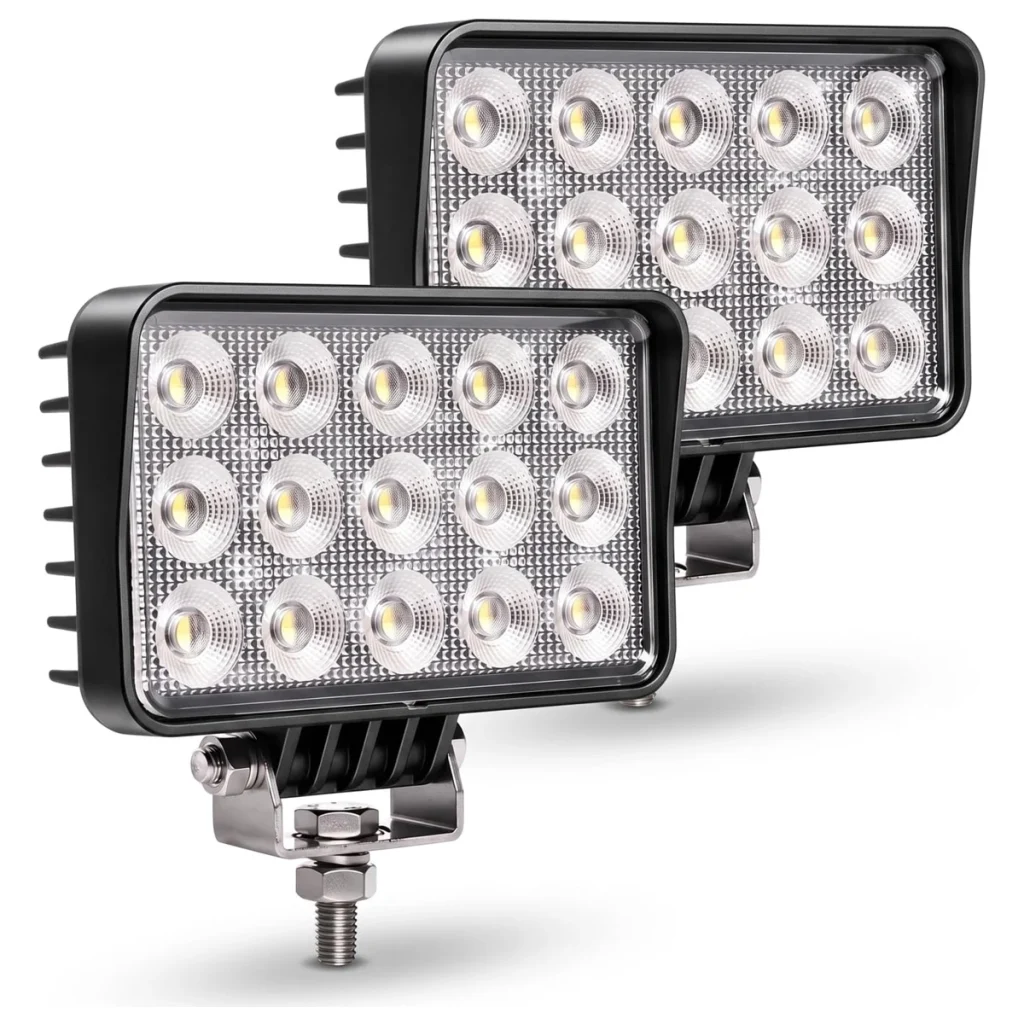
6-inch rectangular format; 60° flood beam listed.
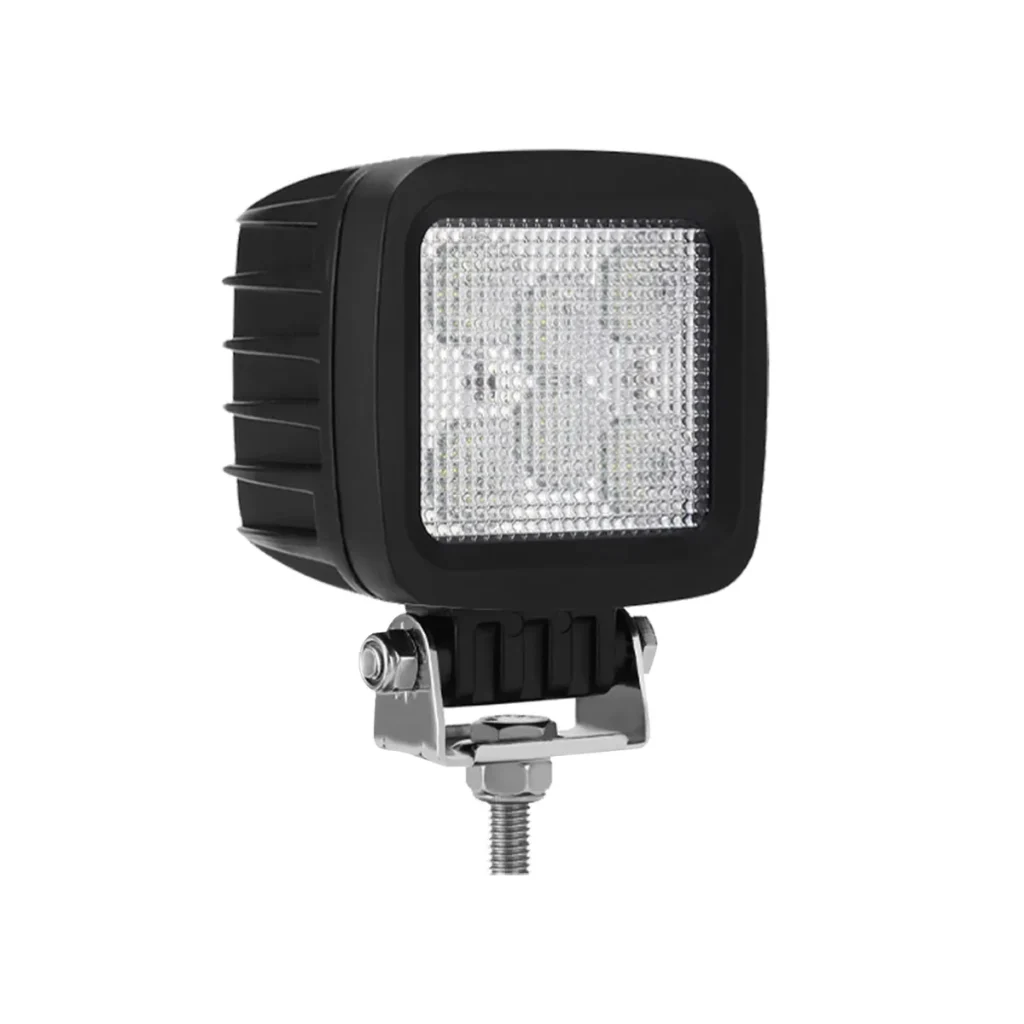
4-inch square format; 150° flood beam listed.
| Model | Listed supply and power | Selection starting point | Confirm before ordering |
|---|---|---|---|
| EV-AW018 | 9–30V DC; 45W per light | Rectangular white flood lamp with DT connector and adjustable bracket | Mating connector, circuit load, drawing and mounting clearance |
| EV-AW020 | 9–30V DC; 45W source theoretical power | 6-inch rectangular format; listed 60° flood beam | Measured lamp output, mounting envelope and actual task coverage |
| EV-AW022 | 10–30V DC; 42W listed | 4-inch square format; listed 150° flood beam and IP67 | Beam performance at mounting height, connector and supporting test information |
8. Send a complete enquiry for samples or a trade quotation
- Equipment make, model and the task to illuminate
- 12V or 24V supply and details of the existing circuit
- Mounting photos, available dimensions and bracket requirements
- Connector photos and any harness requirements
- Mounting height, working distance and area width
- Destination market, required documents and sample quantity
- Estimated order quantity and packaging or branding needs
Build a work-light shortlist with EVEREST
Send your application details so we can identify relevant models, explain what still needs checking and discuss samples. Wholesale and OEM/ODM requirements are reviewed for each project.
Common buying questions
Can the same LED work light run on 12V and 24V equipment?
It can be considered when its specified input range covers both systems. Check the exact model, wiring, protection and installation requirements before use.
Is a higher-wattage work light always better?
Choose for useful illumination at the task. Compare measured output information, beam distribution, electrical load and a sample in the intended mounting position.
Does a DT connector guarantee plug-and-play fitment?
Confirm the mating connector, contact arrangement and polarity, plus any harness requirements. The connector name alone is not enough to approve an installation.
What should I request for a UK or European wholesale order?
Provide the application and destination market, then request the drawings, electrical data and relevant supporting documents available for the exact configuration. Agree sample evaluation and packaging requirements before a production order.
Product-page information reviewed on 20 November 2026. Specifications, configuration and supporting documents should be reconfirmed for the selected model and order.